Painting with Light

Still Life
As a photographer, it is up to you as a person with vision to reveal truths about our world, allowing others to finally see what your imagined before your photograph was created. The concept of painting with light is not new, but as a painter, I try to use light as the same way I use the brush with the colors. I simply discover the painting with light is much easy to control the out come.
Light comes from different sources. We can’t control the nature light, but we can control what angle is best to shape the object to reveal its colors or change later on in Photoshop. We can also use the artificial light such as flashlight and other house lighting to illuminate, but it is still hard to set up and sometimes very expensive. For me the best way to light the subject is to use just a single hand held flashlight, easy to control and very inexpensive.

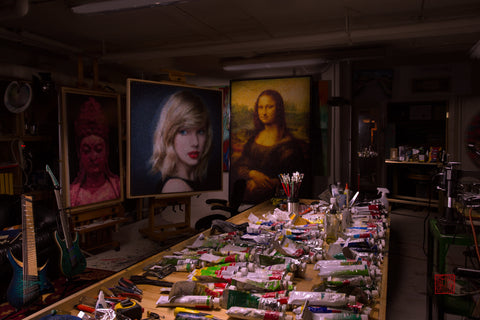
Kevin Liang's studio
At first, I set up my subject in the way I like to photograph and my camera in fix position then I turn off all the lights. I use hand held flashlight to light the small portion of the subject for about five to ten-seconds while the camera is on. It is involves making a long exposure of the entire scene while moving the flashlight across the scene to illuminate as much of the area as needed. The point is not to see the light source in the image, only to “paint” light onto the surfaces I intend to light up so they will record in the capture. I usually take about twenty to thirty photos for each set and then combine them in Photoshop.
Here are the samples of two photos, one is with normal lighting and another is paint with the flashlight.

Stone's studio